The Thrill (and Risk) of DIY in Edmonton Homes
There’s a certain satisfaction in doing things yourself, especially when it saves money. Edmonton homeowners are no strangers to DIY projects. From basement remodels to faucet swaps, many take pride in rolling up their sleeves.
But when it comes to DIY water softener installation, that thrill can quickly turn into frustration, or worse, water damage, if you’re not fully prepared.
In a city like Edmonton, where water hardness regularly reaches 160–170 mg/L of calcium carbonate (classified as “hard”), installing a water softener is more of a necessity than a luxury. Still, many residents wonder: Can I do it myself?
The answer is yes, but only if you understand the process, respect the risks and prepare carefully. This guide covers everything you need to know before tackling a DIY water softener installation in Edmonton, from safety checks and local code rules to cost breakdowns and red flags that signal it’s time to call a professional. You can go through our complete guide on water softener installation in Edmonton to have all your queries answered related to the water softener installation.
Know Your Water First, Testing and Sizing Before You Touch a Wrench
Before you even think about picking up tools, you need to know two things:
- How hard is your water is
- What size system does your home require
How to Test Your Water
You can get a free water test through many local companies, or you can buy a home test kit (available at hardware stores or online for around $20–$30). Look for results in grains per gallon (GPG) or milligrams per liter (mg/L).
- 1 GPG = 17.1 mg/L
- Edmonton typically falls between 9.4–10 GPG (which is considered “hard”)
Sizing Your System
The size of your water softener should reflect both your hardness level and your daily water usage.
| Household Size | Avg. Daily Water Use | Suggested Grain Capacity |
| 1–2 people | 150–200 L/day | 24,000–30,000 grains |
| 3–4 people | 300–400 L/day | 32,000–40,000 grains |
| 5+ people | 500–600+ L/day | 48,000+ grains |
Getting this wrong can cause underperformance, over-regeneration, or premature system failure.
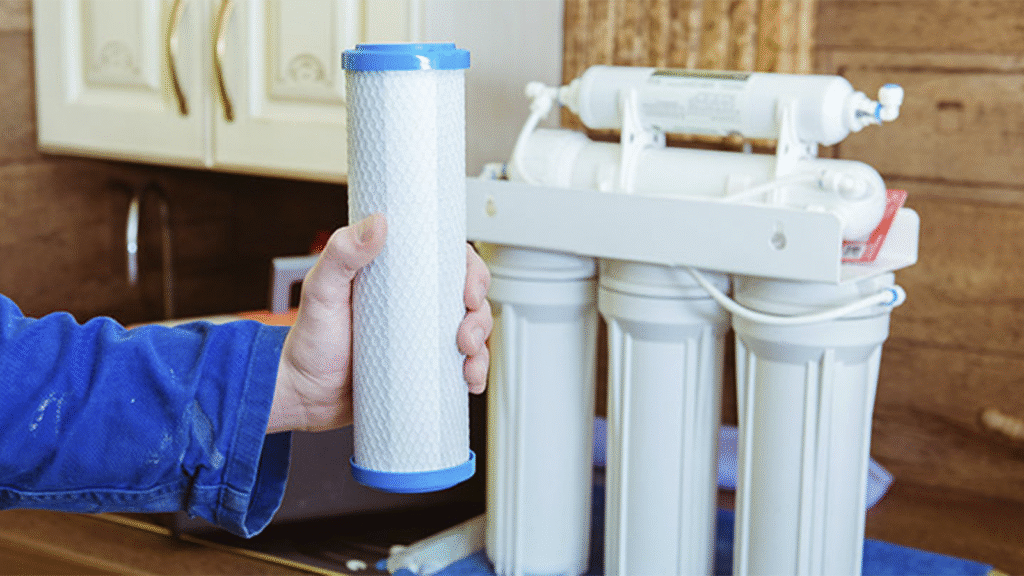
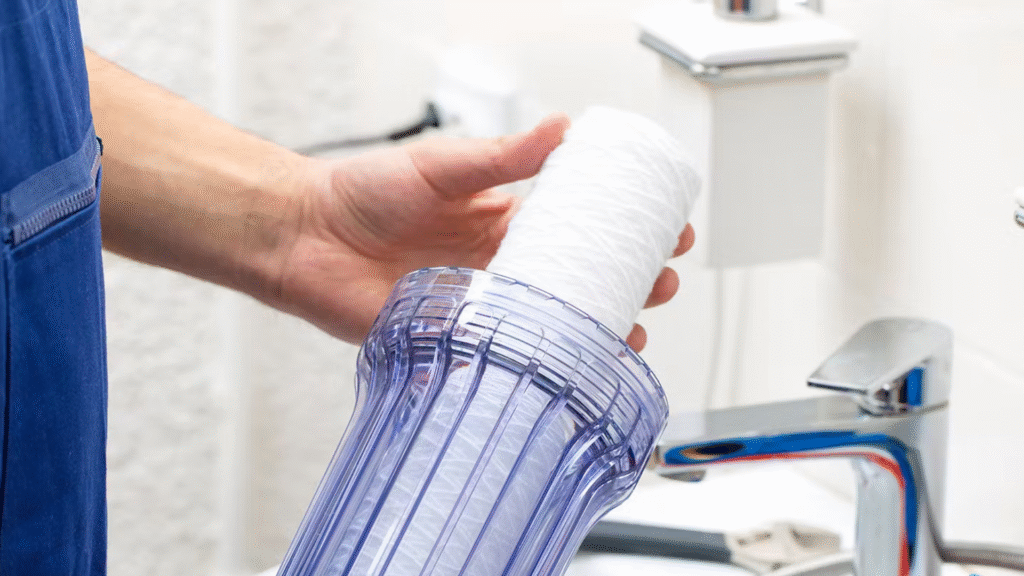
Pre-Install Checklist: Tools, Space, and Safety Gear
Tools & Parts You’ll Likely Need
- Pipe cutter (for copper or PEX lines)
- Adjustable wrench and pipe wrench
- Teflon tape
- Tubing and connectors
- Bucket or small tub (for drainage testing)
- PEX crimp tool (if you’re using PEX)
- Drill and wall mounts (if needed)
Safety Essentials:
- Eye protection
- Gloves
- Towel or shop vac for spills
- Shutoff access & isolation valve
Space Requirements:
- Flat surface near the main water supply
- Drain access for the brine line
- Standard 110V outlet (avoid using extension cords)
- At least 3 feet of clearance in front of the unit
Pro Tip: Check if your space has freezing risk in winter (garage or exterior walls). If so, consider insulation.
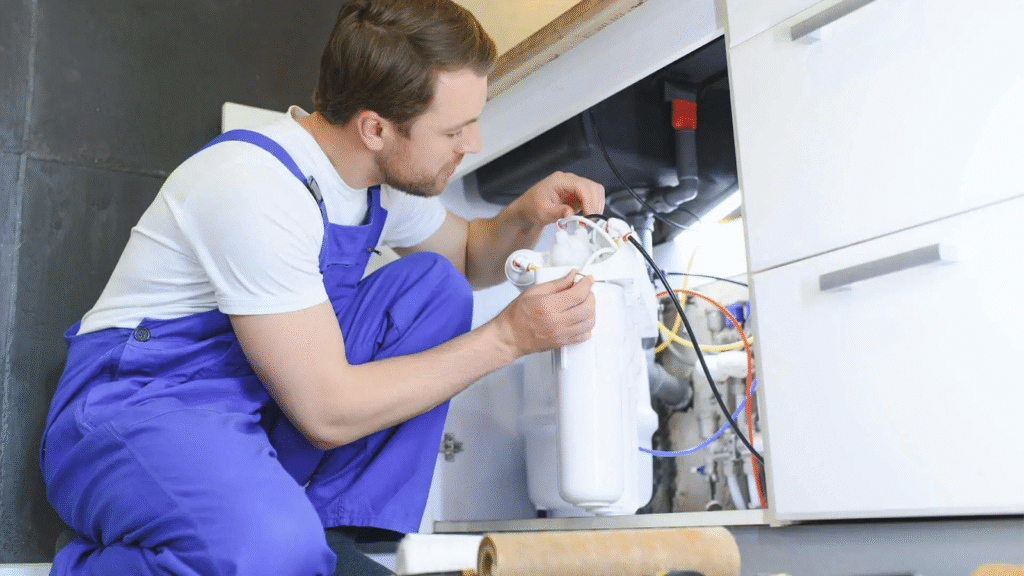
The 9-Step DIY Installation Process (With Edmonton-Specific Tips)
Step 1: Shut Off Water and Drain Pipes
- Shut off the main water valve.
- Open all taps to relieve pressure and drain pipes.
Step 2: Choose Installation Location
- Near where the water line enters the house
- Close to a floor drain or laundry sink
- Near a 110V outlet
In Edmonton, basements are most common. Avoid garages unless well insulated.
Step 3: Cut Into Main Line
- Use pipe cutter or hacksaw.
- Install T-fittings or sharkbite connectors for inlet/outlet.
Step 4: Attach Bypass Valve
- Most softeners come with a built-in or clip-on valve.
- Ensure it’s set to “bypass” during setup.
Step 5: Connect to Softener Head
- Use flexible hoses (braided stainless steel or PEX lines).
- Label inlet (hard water in) and outlet (soft water out).
Step 6: Install Drain Line
- Run brine discharge to the floor drain or utility sink.
- Use an air gap to meet plumbing code (this is required in Edmonton).
Step 7: Connect Overflow Line to Brine Tank
- This is optional, but strongly recommended for flood protection.
Step 8: Plug In and Fill with Salt
- Use clean pellet salt or potassium chloride.
- Don’t overfill; aim for 2/3 full.
Step 9: Program System and Regenerate
- Input hardness level, tank capacity, time of day, and regeneration schedule.
- Trigger a manual regeneration to test performance.
Avoiding the Top 7 Mistakes Edmonton DIYers Often Make
Mistake #1: Installing After the Hot Water Line
Softened water should go to all lines except exterior taps. Placing it downstream from the water heater is a huge misstep.
Mistake #2: No Air Gap on Drain Line
Edmonton’s plumbing code requires an air gap to prevent backflow. A missing one could result in fines or contamination.
Mistake #3: Wrong-Sized System
Oversized systems waste salt and under-regenerate; undersized ones wear out faster.
Mistake #4: Not Flushing Pipes After Install
Always flush for 10–15 minutes to remove resin fines or sediment.
Mistake #5: Forgetting the Overflow Line
If your brine tank overflows, even once, it can flood your basement.
Mistake #6: Ignoring Pipe Freezing Risks
Softener lines near exterior walls or garage walls can freeze during harsh Edmonton winters.
Mistake #7: Skipping Water Testing After Install
Always test after installation to ensure proper grain removal.
What You Legally Need to Know, Permits, Codes, and Fines
Alberta Building Code Notes:
- No permit is needed if connecting to an existing system or line.
- If installing new plumbing lines or electrical outlets, a plumbing permit may be required.
Edmonton Bylaws to Watch For:
- Drain lines must have a minimum 1-inch air gap.
- Overflow discharge must drain into a non-sewer line (e.g., floor drain, sump pit).
- Installation should not restrict water meter access.
Always check with City of Edmonton or your plumber if unsure.
When to Stop and Call a Pro (Red Flag Scenarios)
You’re doing great, until something goes wrong. Here’s when it’s time to hit pause and call a licensed expert:
- You hear hissing, knocking, or water hammer after the install
- Drain line backs up or overflows during regeneration
- Brine tank won’t fill or overfills continuously
- You see wet drywall, ceiling stains, or leaks
- You feel completely overwhelmed during line cutting or pressure testing
Bonus Tip: If your home has copper plumbing, and you’re unfamiliar with soldering, don’t guess. Improper heating can damage valves and result in slow leaks that grow worse over time.
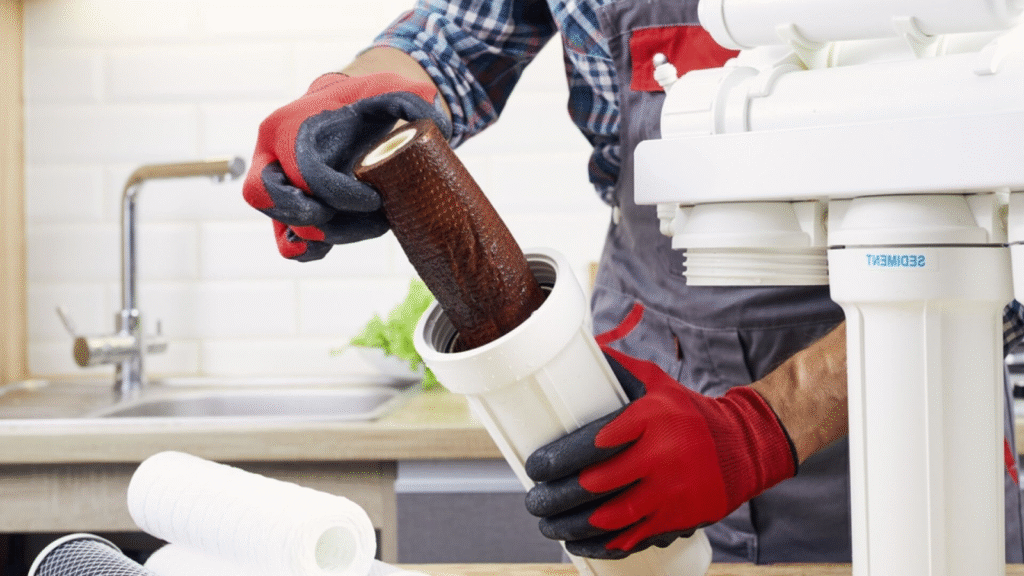
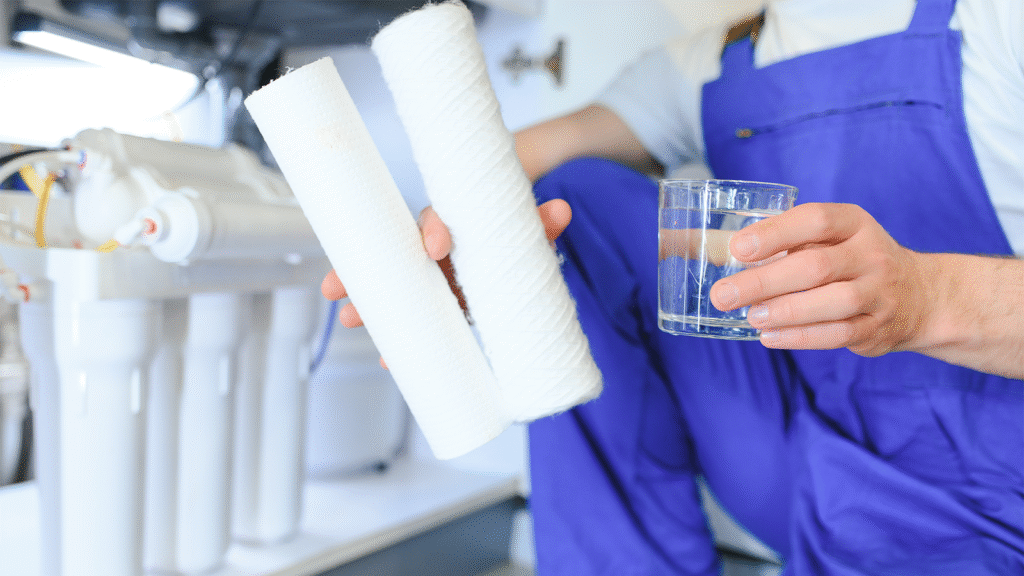
Aftercare Tips for a System That Lasts 10+ Years
A great installation is just the beginning. Extend your softener’s life with these tips:
Monthly
- Check salt levels add top off as needed
- Inspect for salt bridging (tap side of tank to check for hollow crust)
Quarterly
- Clean out brine tank with warm water + vinegar (if needed)
- Wipe down valve head and check for resin leaks
Annually
- Replace inline sediment or carbon pre-filters
- Sanitize the system with softener-safe bleach
Every 3–5 Years
- Re-test your water
- Check resin condition (some may require replacement after 5–8 years)
Final Thoughts: Confidence Is Great, But So Is Caution
Installing your own water softener is possible, and for many Edmonton residents with some plumbing background, it can be a rewarding weekend project.
But make no mistake, water softener systems are part of your home’s long-term water infrastructure. An improper install doesn’t just affect the unit, it affects your whole plumbing system, appliances, energy use, and even insurance eligibility.
So be honest with yourself. If you’re ready and prepared, this guide can walk you through the process step-by-step. But if you’re unsure, a licensed installer is just a call away.
Pro Tip: Even if you install it yourself, you can always book a post-install inspection with a local plumber to confirm compliance.
Need a second opinion or help with setup?
Water Softener Edmonton offers trusted local expertise with no-pressure consultations. Whether you need a final connection or a full professional install, we’re here to help.
Call us anytime for expert advice and Edmonton-specific support.