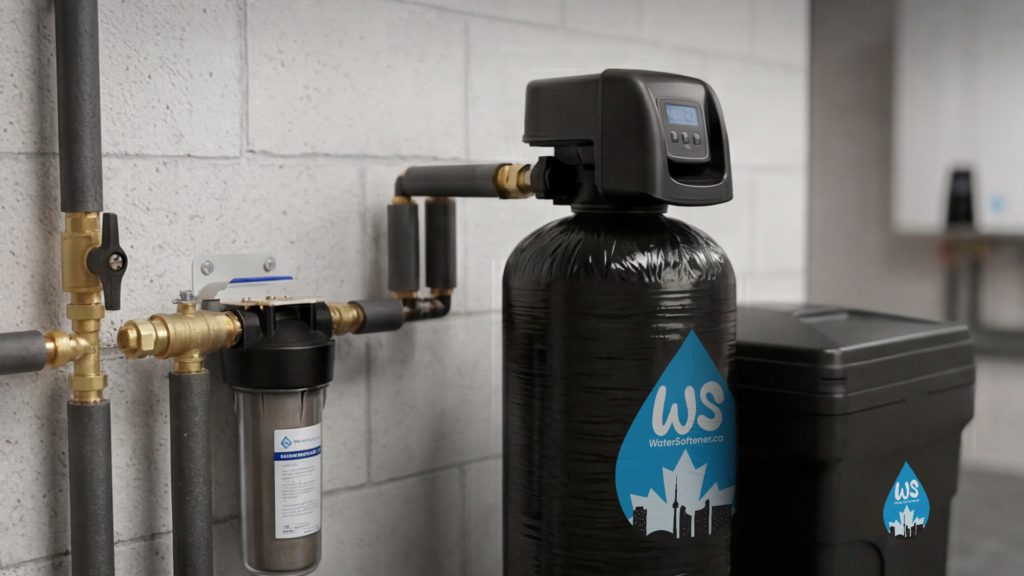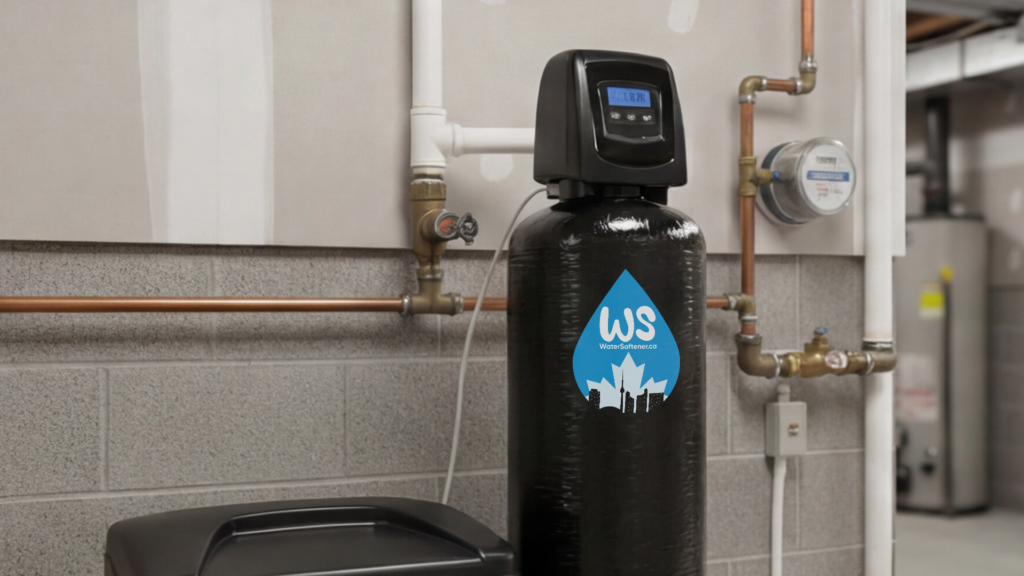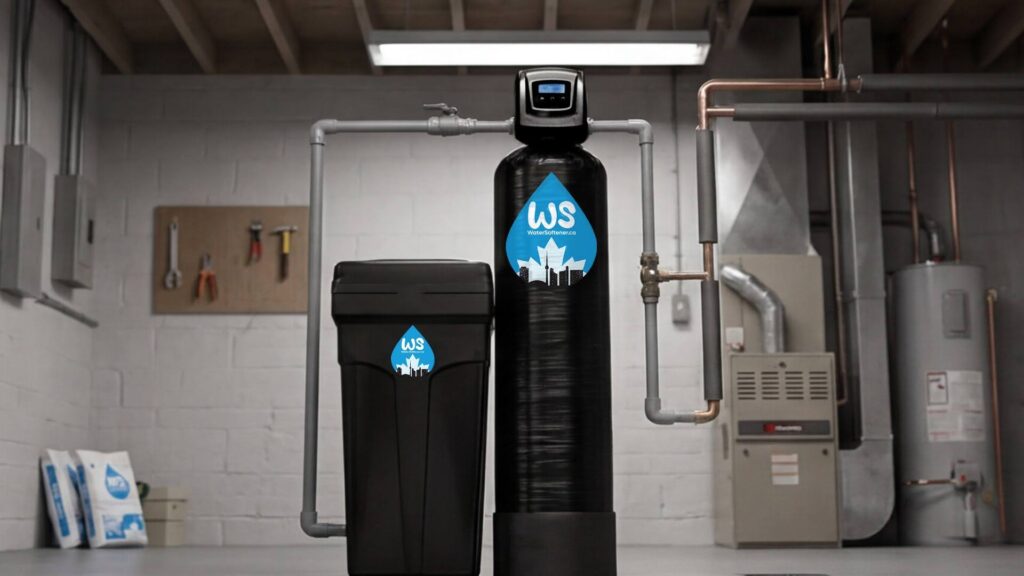
The plumbing changes for water softener installation depend on how your home’s main water line, drain access, power outlet, and existing plumbing are set up. In a straightforward Calgary home, the changes may be simple: cut into the main water line, add a bypass valve, connect the softener, route the drain line, and program the system. In a more complex home, the installer may need to reroute piping, bypass outdoor taps, separate the kitchen cold line, remove an old unit, or add filtration before or after the softener.
That is why the plumbing plan matters as much as the softener itself.
A water softener is not a standalone appliance like a washing machine. It becomes part of the home’s plumbing system. If the plumbing connection is wrong, the system may only soften part of the house, reduce water flow, create drain issues, or make future service harder.
Calgary’s water is naturally hard, and Water Softener Calgary notes local hardness can reach up to 290 mg/L as CaCO₃, which can contribute to scale, dry skin, soap scum, and appliance buildup. Before planning installation, homeowners should understand what plumbing changes may be needed and why those changes affect long-term performance.
For city-water homes, start with city water softener and filter options. For acreage or private-well properties, review well water softener and filter systems because well water often needs more plumbing planning than city water.
Why Plumbing Changes Are Usually Needed
Most homes are not built with a water softener already connected to the main plumbing line. Even if the mechanical room has enough space, the installer usually has to modify the water line so water can enter the softener, pass through the resin tank, and return to the home as softened water.
The most common plumbing changes for water softener installation include:
| Plumbing Change | Why It Is Needed |
| Main line cut-in | Allows the softener to treat incoming water before it reaches the home |
| Bypass valve installation | Lets water skip the softener during service or emergencies |
| Inlet and outlet connections | Directs water into and out of the softener correctly |
| Drain line routing | Sends regeneration wastewater to a safe drain |
| Brine line connection | Connects the salt tank to the control valve |
| Outdoor tap bypass | Avoids using softened water for lawns or exterior cleaning |
| Kitchen cold line decision | Allows drinking/cooking water to remain softened or unsoftened |
| Filter integration | Adds carbon, sediment, iron, RO, or UV treatment if needed |
The amount of work depends on the home. A newer basement with exposed PEX plumbing may be easier. A finished basement with hidden copper lines may need more careful access and planning.
Main Water Line Connection
The first major plumbing change is connecting the softener to the main water line. The installer usually looks for the point where water enters the home, often in the basement or mechanical room.
The goal is to install the softener before water branches to the fixtures that need soft water, including:
- Showers
- Bathroom sinks
- Laundry
- Dishwasher
- Water heater
- Indoor fixtures
If the softener is installed too far downstream, some areas of the home may continue receiving hard water. That is one of the biggest installation mistakes. The unit may be working, but not treating the right water.
A professional installer will usually identify:
- Main shutoff valve
- Incoming water line
- Water meter area, if visible
- Line feeding the water heater
- Branches going to outdoor taps
- Any branch feeding the kitchen cold tap
- Existing filters or older softeners
This step decides where the softener should connect. It also shows whether the installer needs to reroute a section of pipe before installation.
Cutting Into the Pipe
For most installations, the installer has to cut into the home’s plumbing. This is normal. The cut allows the softener to be installed in-line with the home’s water supply.
The exact method depends on the pipe material.
| Pipe Type | Installation Consideration |
| Copper | May require soldering, compression fittings, or transition fittings |
| PEX | Often easier to modify with compatible fittings |
| CPVC | Needs compatible plastic fittings and careful handling |
| Galvanized or older pipe | May need extra care due to age or corrosion |
| Mixed plumbing | May require transition fittings between pipe types |
This is why DIY installation can become risky. A water softener is not just connected with a hose. The installer must make sure the pipe material, fittings, flow direction, shutoff access, and pressure conditions are handled properly.
A poor cut-in can cause leaks, flow restriction, or future repair problems.
Inlet and Outlet Plumbing
A water softener has an inlet and outlet. Water must enter the system from the correct side, pass through the resin tank, and then return to the home.
If the inlet and outlet are reversed, the system may not soften properly. It can also create performance issues or damage internal components.
During installation, the plumber or installer should confirm:
- Water flow direction
- Inlet connection
- Outlet connection
- Correct valve orientation
- No cross-connection
- Proper support for the pipe
- Enough room around fittings
This part may seem basic, but it is one of the most important plumbing changes for water softener setup. The softener only works correctly if water moves through it the right way.
Bypass Valve Installation
A bypass valve is one of the most important plumbing additions. It allows water to bypass the softener without shutting off the entire house.
A bypass valve helps when:
- The softener needs service
- The system needs cleaning
- There is a leak near the unit
- The homeowner wants to temporarily stop softening
- The unit is being replaced
- A technician needs to test hard water vs soft water
Some water softeners come with a built-in bypass valve. Others may require an external bypass arrangement. Either way, the homeowner should be shown how it works before the installer leaves.
A good bypass setup should be:
- Easy to reach
- Clearly explained
- Not blocked by storage
- Installed near the softener
- Easy to switch between service and bypass
The bypass valve is not just a technical feature. It gives the homeowner control if something ever needs attention.
Drain Line Plumbing
A traditional salt-based softener needs a drain line because the system regenerates. During regeneration, brine is used to recharge the resin, and wastewater is flushed out through the drain.
This makes drain planning one of the most important plumbing changes for water softener installation.
Good drain options may include:
- Floor drain
- Utility sink
- Laundry standpipe
- Mechanical room drain
- Approved drain connection
The drain line should not be loose, stretched, kinked, or placed where it can move during regeneration. A secure route prevents mess and helps the system discharge properly.
A proper drain setup should consider:
| Drain Detail | Why It Matters |
| Drain distance | Shorter routes are usually cleaner and easier to secure |
| Drain height | Helps ensure wastewater can discharge correctly |
| Air gap | Helps reduce backflow risk |
| Tube support | Prevents movement during regeneration |
| Drain condition | A blocked drain can cause backup |
| Noise | Drain route can affect regeneration sound |
An air gap is a vertical separation between the water outlet and the flood level of a fixture, and it is widely used as a simple form of backflow prevention in plumbing systems. For a softener, the installer should use a safe drain method that follows local plumbing expectations.
Brine Tank Connection
The brine tank holds salt and connects to the softener control valve through a brine line. The installer needs to connect this line correctly so the system can draw brine during regeneration.
The brine tank setup may involve:
- Connecting the brine tube
- Checking float assembly
- Adding startup water if required
- Adding salt
- Checking for leaks
- Explaining salt level
- Showing the homeowner how to refill the tank
This part does not usually require major plumbing changes, but it is still part of the system setup. If the brine line is loose or kinked, the softener may not regenerate correctly.
Homeowners should also leave enough room to open the brine tank lid. If the tank is squeezed into a tight corner, salt refills become difficult.
Outdoor Tap Bypass
Not all water in the home needs to be softened. Outdoor taps are often left unsoftened because lawns, gardens, driveways, and exterior cleaning do not usually need soft water.
Softening outdoor water can waste capacity, salt, and regeneration water. If the outdoor line branches before the softener, it may already stay unsoftened. If it branches after the planned softener location, the installer may need to reroute or bypass it.
Outdoor bypass planning helps avoid using softened water for:
- Lawn watering
- Garden watering
- Car washing
- Hose use
- Exterior cleaning
This is one of the plumbing decisions homeowners should discuss before installation begins. It is much easier to plan outdoor bypassing during installation than to change it later.
Kitchen Cold Water Decision
The kitchen cold tap is another important decision. Some homeowners want soft water everywhere, including the kitchen. Others prefer the kitchen cold tap to stay unsoftened for drinking and cooking.
This choice can affect plumbing layout.
Possible setups include:
| Kitchen Setup | What It Means |
| Kitchen cold line softened | Whole-home softening includes the kitchen tap |
| Kitchen cold line unsoftened | A separate line bypasses the softener |
| Softened kitchen plus RO | Softened water feeds the home, while RO provides drinking water |
| Unsoftened tap plus softener | Kitchen cold remains separate from treated household water |
Water Softener Calgary notes that softened water is safe for many households, while people on sodium-restricted diets may prefer bypassing drinking water. If drinking water taste or quality is the concern, a reverse osmosis system may be a better solution than leaving the kitchen line completely untreated.
For homes that need softening plus better drinking water, city water softener and filter options can include filtration and RO planning.
Water Heater Plumbing
A softener is usually installed before the water heater. This allows softened water to enter the heater and helps reduce scale buildup inside the tank.
If the softener is installed after the water heater, hot water may remain hard. That means showers, laundry, and hot-water fixtures may still show hard water symptoms.
A correct setup usually sends softened water to:
- Water heater
- Showers
- Laundry
- Dishwasher
- Bathroom sinks
- Indoor hot-water lines
This is one reason the main line connection is so important. The installer needs to understand where the water heater is fed from and make sure the softener is placed before that branch.
Plumbing for Filtration Add-Ons
Sometimes a softener is not enough. A water softener handles hardness, but it does not remove every taste, smell, sediment, or contaminant concern.
Water Softener Calgary states that a water softener mainly removes hardness minerals, while chlorine or iron may require additional filtration. That means the plumbing may need to support more than one treatment stage.
A combined system may include:
- Sediment pre-filter
- Chlorine removal tank
- Carbon filter
- Iron filter
- Water softener
- UV system
- Reverse osmosis drinking water system
For city water, filtration may focus on chlorine taste, odour, and drinking water quality. For well water, filtration may be needed for iron, manganese, sediment, odour, or bacteria concerns.
This is why well water softener and filter systems often need more space and more plumbing changes than a basic city-water softener.
Plumbing Order Matters
When multiple treatment units are installed, the order matters. The wrong order can reduce performance or damage equipment.
A common treatment sequence may look like this:
| Water Issue | Common Treatment Order |
| Sediment + hardness | Sediment filter before softener |
| Chlorine + hardness | Carbon filtration and softening planned together |
| Iron + hardness | Iron treatment often before softening |
| Well water + bacteria concern | Filtration and UV planned in correct sequence |
| Drinking water concern | RO installed at kitchen point of use |
The installer should not simply add equipment wherever there is space. The plumbing should follow the water problem. Sediment, iron, chlorine, hardness, and drinking water concerns all need to be treated in the correct order.
Removing an Existing Softener
If the home already has an old softener, removal may be part of the plumbing work.
Replacement can be simple if the old softener was installed correctly and the new system uses similar connection points. It can be more complicated if the old setup has:
- Corroded fittings
- Stuck bypass valve
- Poor drain line
- Wrong location
- Reversed inlet and outlet
- No service space
- Leaks or damaged pipe
- Outdated plumbing materials
In some cases, the installer may recommend correcting the plumbing instead of reusing the old setup. That can add time, but it is usually better than attaching a new unit to poor plumbing.
Finished Basement Plumbing Challenges
Finished basements can make water softener installation more difficult because pipes and drains may be hidden behind walls or ceilings.
Possible challenges include:
- Hidden main line
- No visible drain
- Limited mechanical room access
- Finished flooring near equipment
- Drywall around plumbing
- Tight corners
- No easy route for bypassing lines
This does not mean installation is impossible. It means the installer may need photos, a site check, or more careful planning before cutting into the plumbing.
A finished basement may also need an access panel if important valves or connections are hidden.
Signs Your Home May Need Extra Plumbing Work
Your installation may need more plumbing changes if:
- The main line is not visible
- The only drain is far away
- There is no outlet near the installation area
- The mechanical room is very tight
- Outdoor taps branch after the softener location
- You want the kitchen cold tap unsoftened
- The home has old copper, galvanized, or mixed plumbing
- A previous softener was installed poorly
- You need filtration with the softener
- The home uses well water
A good installer should explain these issues before starting, not surprise you halfway through the job.
What Homeowners Should Ask Before Plumbing Work Starts
Before any plumbing changes are made, ask:
- Will this location soften the whole home?
- Are outdoor taps being bypassed?
- Is the kitchen cold tap softened or unsoftened?
- Is the softener installed before the water heater?
- Where will the drain line go?
- Will there be a proper bypass valve?
- Is there enough service space?
- Do I need filtration too?
- Will any finished wall need to be opened?
- What pipe material is being modified?
These questions help prevent confusion and make sure the final setup matches how you actually want to use water.
Final Takeaway
The most common plumbing changes for water softener installation include connecting the unit to the main water line, adding a bypass valve, routing a drain line, connecting the brine tank, and confirming the correct inlet and outlet flow. Depending on the home, the installer may also bypass outdoor taps, separate the kitchen cold line, remove an old softener, reroute piping, or add filtration.
The best plumbing setup is not always the fastest one. It is the one that treats the right water, protects flow, drains safely, supports maintenance, and leaves room for future service.
Before installation, review city water softener and filter options if your home uses municipal water. If your home uses a private well, start with well water softener and filter planning. For the most accurate setup, book a free water test before any plumbing changes are made.
FAQs
What plumbing changes are needed for a water softener?
Most installations require connecting the softener to the main water line, adding a bypass valve, routing a drain line, connecting the brine tank, and confirming the inlet and outlet connections.
Does a water softener need to connect to the main water line?
Yes. A water softener is usually connected near the main water line so it can treat water before it branches to showers, laundry, dishwasher, and the water heater.
Does a water softener need a drain line?
Yes. A salt-based softener needs a drain line for regeneration wastewater. The line should be routed securely to a floor drain, utility sink, standpipe, or approved drain connection.
Should outdoor taps be softened?
Usually no. Outdoor taps are often left unsoftened because lawns, gardens, and exterior cleaning do not need soft water.
Should the kitchen cold tap be softened?
It depends on homeowner preference. Some homeowners soften it, while others keep it unsoftened for drinking and cooking or add reverse osmosis for drinking water.
Does a water softener go before or after the water heater?
A water softener usually goes before the water heater so softened water can enter the heater and help reduce scale buildup.
Can an old water softener be replaced using the same plumbing?
Sometimes, yes. If the old plumbing is correctly placed and in good condition, it may be reused. If the old setup is poor, the installer may recommend correcting it.
Do I need extra plumbing for filtration?
You may need extra plumbing if you are adding carbon filtration, sediment filtration, iron treatment, UV, or reverse osmosis. The treatment order should be planned carefully.