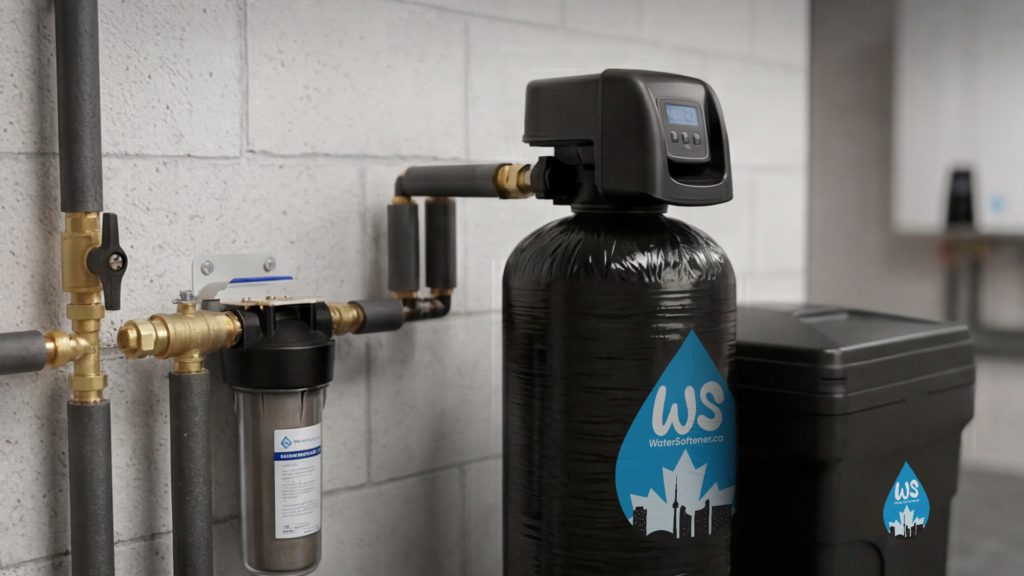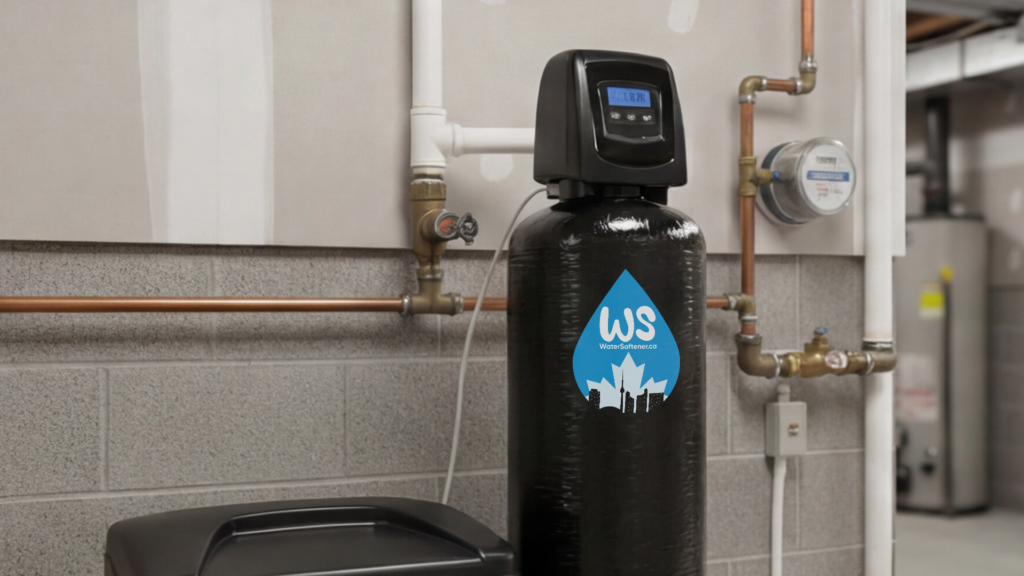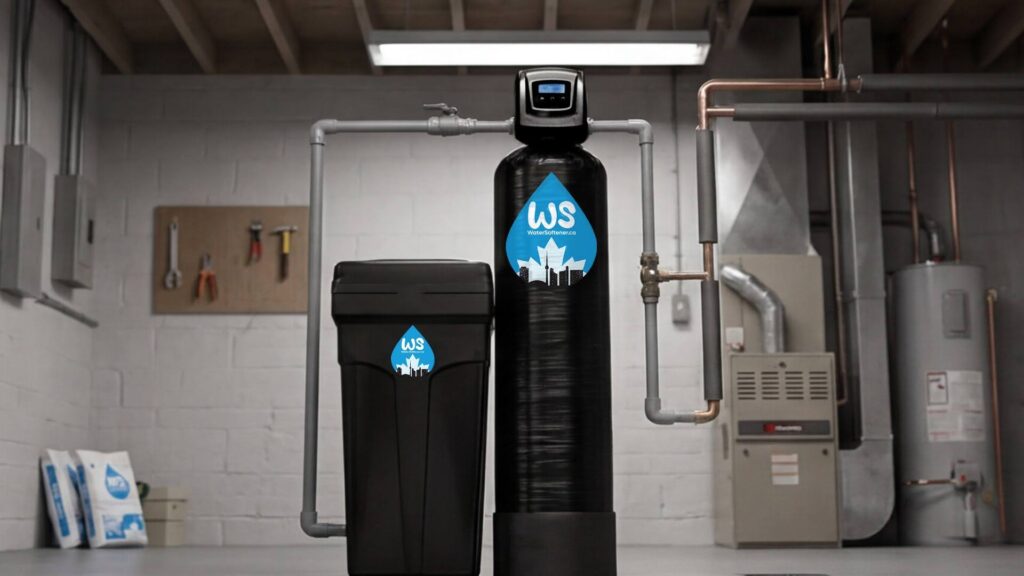
A water softener installation checklist Calgary homeowners can actually use should do more than remind you to clear space in the basement. It should help you prepare your water test, plumbing access, drain route, power outlet, installation location, filtration needs, and post-install questions before the technician arrives.
That matters because a water softener is not just another appliance. It connects to the main water supply, controls how water moves through the home, uses a drain during regeneration, and needs correct programming to match Calgary’s hard water.
If the installation area is blocked, the drain is not accessible, the main water line is unclear, or the water has not been tested, the installer may still be able to complete the job, but the setup may take longer or need changes. A little preparation helps avoid delays and makes sure the system is installed where it can actually solve the problem.
Use this checklist before booking or before installation day.
1. Confirm Your Water Source
Start by confirming whether your home uses city water or well water. This changes the entire installation plan.
City water homes usually deal with hardness, chlorine taste, chlorine smell, scale, and cleaning problems. Well-water homes may also deal with iron, manganese, sediment, sulfur odour, bacteria concerns, or metallic taste.
| Water Source | What to Check Before Installation |
| City water | Hardness, chlorine, taste, scale, appliance buildup |
| Well water | Hardness, iron, manganese, sediment, odour, bacteria |
| Unsure | Book a water test before selecting equipment |
For municipal homes, review city water softener and filter options. For private wells or acreage homes, review well water softener and filter systems first.
2. Get Your Water Tested
This is the most important step in the water softener installation checklist Calgary homeowners should not skip.
A water test helps confirm:
- Hardness level
- Iron
- Manganese
- Chlorine
- Sediment
- pH
- Odour source
- TDS concerns
- Whether filtration is needed
Health Canada explains that water softeners are effective residential treatment technology for reducing hardness, calcium, and magnesium. But it also recommends testing water entering and leaving a treatment unit to confirm the system is performing properly.
Without testing, the softener may be oversized, undersized, or programmed incorrectly. Worse, a homeowner may install a softener when the real complaint is chlorine taste, iron staining, or sediment.
3. Locate the Main Water Line
The softener usually needs to connect near the main water line before water branches to the rest of the home.
Before installation day, find:
- Main shutoff valve
- Incoming water line
- Water meter area, if visible
- Line going to the water heater
- Branches to outdoor taps
- Existing filters or softeners
This helps the installer decide where the system should connect. If the unit is installed after some plumbing branches, part of the house may continue receiving hard water.
The goal is to soften water going to showers, laundry, dishwasher, indoor fixtures, and the water heater.
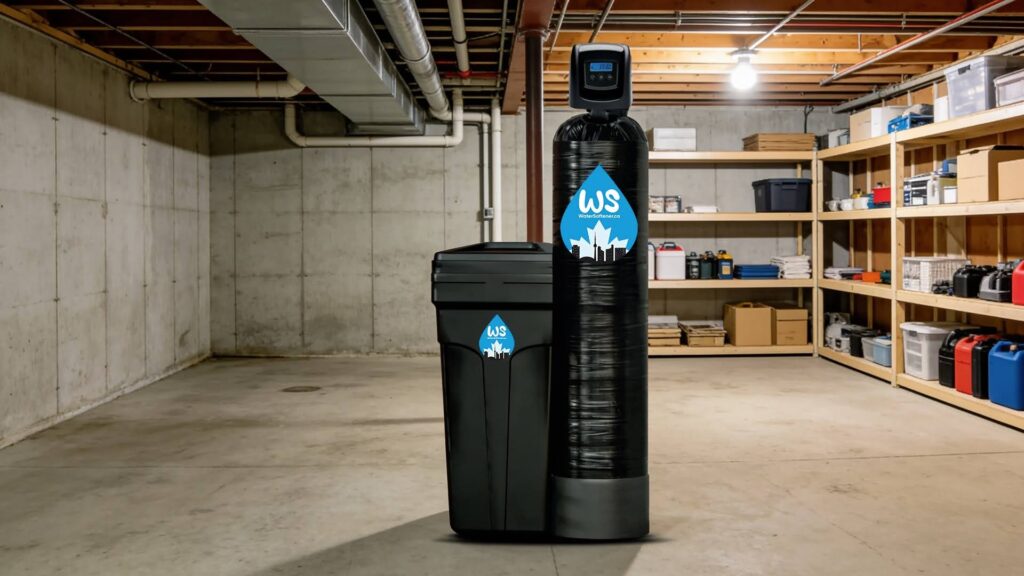
4. Clear the Mechanical Room
A crowded mechanical room slows down the job and makes it harder to install neatly.
Clear space around:
- Main water line
- Drain
- Water heater
- Planned softener location
- Nearby outlet
- Existing filtration equipment
- Walkway into the utility area
The installer needs room for the resin tank, brine tank, tools, fittings, drain tubing, and leak inspection.
Leave enough space for future use too. You will need to add salt, access the bypass valve, check the control head, and allow service later.
5. Check Drain Access
A salt-based water softener needs a drain for regeneration.
Before installation, identify the closest drain:
| Drain Type | Good to Know |
| Floor drain | Common in mechanical rooms |
| Utility sink | Can work if nearby |
| Laundry standpipe | May work depending on layout |
| Mechanical room drain | Often practical |
| Approved drain connection | Installer should confirm suitability |
The drain should be visible, open, and close enough for a clean route. The drain line should be secured so it does not move during regeneration.
If the nearest drain is far away, the installer may need more time or recommend another location.
6. Confirm Power Access
Most modern softeners use a powered control valve. The outlet should be close, safe, and accessible.
Check:
- Is there an outlet near the planned location?
- Is it working?
- Is it already overloaded?
- Is it protected from water exposure?
- Will the cord create a trip hazard?
- Can the unit remain plugged in permanently?
Do not plan on a permanent extension cord. If there is no outlet nearby, discuss the location before installation.
7. Measure the Installation Space
A water softener needs room for both the resin tank and the brine tank. If filtration is added, it may need even more space.
Make sure there is room for:
- Resin tank
- Brine tank
- Salt lid opening
- Bypass valve access
- Drain line route
- Control valve access
- Future repairs
- Filter changes if included
Do not choose the tightest corner just because the tank fits. A system that is hard to reach becomes frustrating within months.
8. Decide What Water Should Be Softened
Not every water line needs to be softened.
Most homeowners want soft water for:
- Showers
- Laundry
- Dishwasher
- Water heater
- Bathroom sinks
- Indoor fixtures
Outdoor taps are often left unsoftened. Some homeowners also keep the kitchen cold tap unsoftened or use reverse osmosis for drinking water.
| Area | Usually Softened? | Why |
| Showers | Yes | Better lather and less scale |
| Laundry | Yes | Better detergent performance |
| Dishwasher | Yes | Fewer spots and deposits |
| Water heater | Yes | Helps reduce scale buildup |
| Outdoor taps | Usually no | Saves softener capacity |
| Kitchen cold tap | Depends | Drinking water preference |
Make this decision before installation starts. Changing it later may require extra plumbing.
9. Review Filtration Needs
A softener handles hardness. It does not remove every water concern.
You may need filtration if you notice:
- Chlorine taste
- Chlorine smell
- Sediment
- Iron stains
- Rotten egg odour
- Metallic taste
- Cloudy water
- Drinking water concerns
For city water, softening may be paired with carbon filtration and optional reverse osmosis. For well water, filtration may need to address iron, manganese, sediment, odour, or bacteria before or after softening.
| Symptom | Possible Solution |
| White scale | Water softener |
| Chlorine taste | Carbon filtration |
| Sediment | Sediment filter |
| Iron stains | Iron filtration |
| Rotten egg smell | Well-water treatment |
| Drinking water concerns | Reverse osmosis |
Planning filtration at the same time can prevent crowding and extra plumbing later.
10. Take Photos Before Booking
Photos help the installer understand your home before arriving.
Take photos of:
- Main water line
- Main shutoff valve
- Water heater
- Floor drain
- Nearby outlet
- Mechanical room layout
- Existing softener or filter
- Tight corners or finished walls
This can help the company identify whether the installation is standard or complex.
11. Prepare for Water Shutoff
The water will usually be shut off during part of installation.
Before the appointment:
- Use bathrooms before work starts
- Fill a kettle or water bottle
- Finish laundry earlier
- Avoid starting the dishwasher
- Tell family members water may be off
- Keep pets away from the work area
This avoids unnecessary stress during the appointment.
12. Ask the Right Questions
Before the installer leaves, ask:
- What hardness level was programmed?
- What time will regeneration happen?
- Is the system metered or timed?
- How much salt should I keep in the tank?
- What type of salt should I use?
- Where is the bypass valve?
- Is the kitchen cold tap softened?
- Are outdoor taps bypassed?
- Was water tested after installation?
- When should I call for service?
- What warranty applies?
A good installation should include a homeowner walkthrough.
13. Check the System After Installation
After installation, watch the system for the first few days.
Check:
| What to Check | What You Want to See |
| Fittings | No leaks |
| Drain line | Secure and dry nearby |
| Salt tank | Salt present and not bridged |
| Bypass valve | Set to service mode |
| Cold water hardness | Lower reading after the softener |
| Hot water feel | Improves after water heater cycles |
| Dishwasher results | Fewer spots over time |
| Shower glass | Less new scale after cleaning |
Old scale will not disappear instantly. Clean fixtures once, then watch how quickly buildup returns.
Common Mistakes to Avoid
Skipping the Water Test
This can lead to the wrong unit or wrong settings.
Blocking Access
A tight installation may look fine but become difficult to maintain.
Forgetting the Drain
No drain means no proper regeneration.
Ignoring Filtration
Taste, odour, sediment, and iron are not solved by softening alone.
Not Asking About the Kitchen Tap
Drinking water preferences should be discussed before plumbing work starts.
Not Checking the Bypass Valve
You should know how to bypass the system if service is needed.
Final Checklist
Before installation day, confirm:
- Water has been tested
- City or well water source is clear
- Main water line is accessible
- Mechanical room is cleared
- Drain is visible
- Power outlet is available
- Space is measured
- Outdoor tap plan is discussed
- Kitchen cold tap plan is discussed
- Filtration needs are reviewed
- Photos are shared if needed
- Water shutoff is expected
- Post-install questions are ready
Final Takeaway
A water softener installation checklist Calgary homeowners can use should prepare both the home and the decision. The goal is not just to make installation faster. It is to make sure the system is tested, placed correctly, connected properly, programmed accurately, and explained clearly.
Start with a free water test. If you are on municipal water, compare city water softener and filter options. If you are on a private well, review well water softener and filter systems before installation.
FAQs
What should I do before water softener installation?
Clear the mechanical room, locate the main water line, confirm drain and power access, test your water, and decide whether the kitchen cold tap or outdoor taps should be softened.
Do I need a water test first?
Yes. A water test helps confirm hardness and whether iron, chlorine, sediment, or odour also need treatment.
Does a water softener need a drain?
Yes. A salt-based softener needs a drain for regeneration wastewater.
Does a water softener need power?
Most modern softeners need power for the control valve.
Should outdoor taps be bypassed?
Usually yes. Outdoor water does not usually need softening.
Should I add filtration during installation?
If your only issue is hardness, maybe not. If you have chlorine taste, odour, sediment, iron, or drinking water concerns, filtration should be reviewed.
How much space does a softener need?
Enough space for the tank, brine tank, salt refills, bypass valve, drain line, and future service access.
What should I ask after installation?
Ask about hardness settings, regeneration time, salt type, bypass valve, filtration maintenance, and how to test if the system is working.